Thursday, September 27, 2007
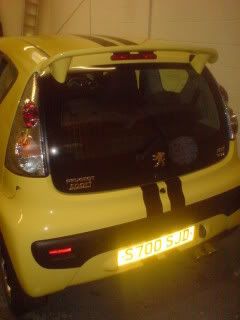
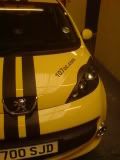
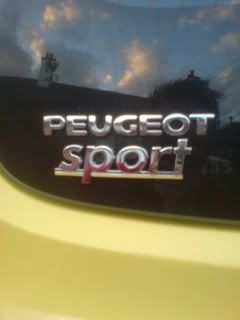
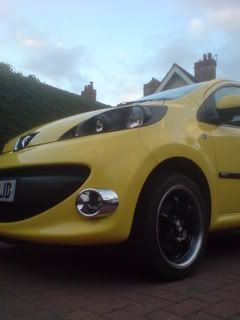
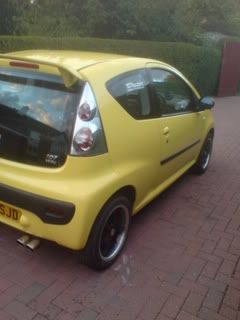
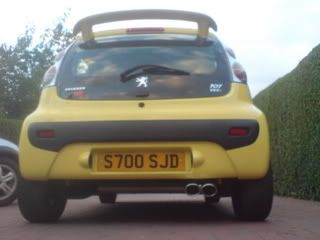
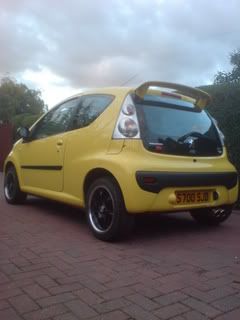
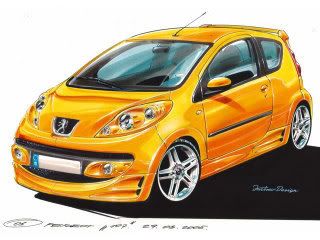
Minature mod
Cleaning Guide How To Avoid Swirl Marks
Whats Wrong With A Sponge?
Millions of people wash their car using a sponge. This isnt the best product to use, a sponge picks up bits of grit and dirt already embeded in your paintwork and drags them along the surface causing scratches.
These little scratches are highly visible in bright light because they catch the light, and this is what gives you the dreaded swirl marks that rob your paint of gloss and colour and ruin the car's look.
Wash Mitts
Lambswool and Sheepswool wash mitts have been developed to get around the problems of sponges trapping grit particles by the flat face. If you run your fingers through a lambswool mitt, you can see that it is deep pile and not flat faced:
Returning to the grit particles on paintwork, when the wash mitt is placed onto them, the grit particles are absorbed into the mitt - safely away from paintwork so that they cannot scratch the paint:
Therefore, sweeping the mitt across the paint doesn't sweep the grit over the paint also and so you don't inflict lots of tiny hairline scratches.
Note: While wash mitts are considerably better than sponges, it is impossible to completely avoid inflicting the odd swirl marks here and there using a wash mitt. What follows in this thread are tips on how to keep these inflicted swirls to an absolute minimum.
Which Wash Mitt?
There are a great number of washmitts on the marked nowadays, ranging from lambswool and sheepswool to cotton chenille to microfiber. In my experience the best mitts are the lambswool and sheepswool. When choosing a mitt, choose one with a soft deep pile that will be kind to paintwork. Two excellent mitts are:
Meguiars Lambswool Wash Mitt
Eurow Sheepskin Wash Mitt
and there are others too.
So Many Shampoos! Which to Choose? [Wheelygoodstuff!]
At the end of the day, shampoo choice for your car is going to come down to personal preference. But there are so many shampoos on the market its hard to know which ones to go for! A couple of things to look for when choosing a car shampoo:
1. Lubricity in the washing solution - you want a shampoo that makes the washing solution feel nice and lubricated so that dirt particles can be encapsulated by this lubricant and any that aren't absorbed into the wash mitt will slide off the paint without scratching in the rinsing water. Soapy suds are pleasing and can make car washing fun, but lubricated wash solution is more important.
2. A shampoo should contain no harsh detergents if you are washing a car that you have spent many hours polishing, sealing and waxing. Harsh detergents strip wax straight off the paintwork leaving your paint surface dried out and unprotected. Fairy Liquid is therefore a big no no for washing cars. You feel what happens to the skin on your hand if in prolonged contact with harsh detergents, it dries the skin out - it will do similar damage to paint.
With this in mind, there are still a huge number of car shampoos that fit the bill - ones that I have used and rate are the following, so if you're struggling on which to choose, try one of the following:
What is the "Two-Bucket Method
Again, millions of people use a single bucket of car wash solution to wash their car, but if you read the threads on this site you will find most members wash their cars using the "Two-Bucket Method" - whats that?
As suggested by the name, the two bucket method uses two buckets, not one. In thie first bucket, you have your car wash solution as normal. In the second bucket you have clean fresh water. First off you soak your mitt in the wash solution and begin washing the car (as described below). Then, before dunking the wash mitt back into the wash solution, you rinse it out in the second bucket of fresh water - this rinses out the dirt and grit particles from this mitt so that they cannot come into contact with your paint, reducing the number of swirls inflicted.
A grit-guard is also a very worthwhile investment and sits at the bottom of the bucket (I have two, one in the rinsing bucket and one in the wash solution bucket). When dunking you mitt into the fresh water bucket, rub it across the grit guard to increase the amount of grit particles which are removed from the mitt. Also, it keeps them trapped at the bottom of the bucket so even less chance of the mitt picking them back up and them reaching your paintwork to inflict scratches.
Washing
Here I describe the generic technique I use to wash cars...
Wheels, Arches, Door Jambs
Start with these. When washing your wheels using a wheel brush, the shampoo solution (or wheel cleaner solution) can spray up onto paintwork, and if you've just cleaned the paintwork, you'll end up needing to clean it again to remove the dirty spray from wheels! Don't forget to open all doors and boot and clean the door jambs and the insides of the door (without getting wash solution into the locking mechanisms, I cover these up) - these areas can pick up a lot of dirt as well and it adds something a little extra to open the door and see the jambs as clean as the rest of the car as these areas are often forgotten about.
Pre-Rinsing
This loosens up dirt and wets the paintwork ready for washing. Using a hose pipe, direct a gentle spray of water at the paintwork at a shallow angle. If you blast the paintwork with high pressure at ninety degrees to the paintwork, you'll force grit into the paint and cause scratches. Just a gentle spray of water to wet the paintwork is all that is required. If you don't have access to a hose, use a watering can with the rose fitted to produce a gentle spray of water:
Shampooing
This is the major stage of the washing process, and the time when most scratches can be inflicted if care is not taken. This removes fresh surface contamination from paintwork such as dust, grit, mud, road film etc... Add the correct amount of car wash solution (according to the dilution ratio on the bottle) to your bucket and fill with water to produces suds and lubricated wash solution:
The water can be cold, or warm - I prefer warm water as it keeps my hands warm, especially in winter!!
Now, use the two bucket method described above. Use two wash mitts - one for the top areas of the car (roof, bonnet, upper sides above the wheel arch line) and one for the lower areas (below the wheel arch line, front and rear bumpers). Use a light parallel motion when washing, with out applying forceful pressure that will inflict scratches.
If a mark is stubborn and wont come off with gentle movement of the wash mitt, it will require a stronger cleaner such as tar remover or clay. Start from the roof and work down, therefore the large quantities of dirt that form on the lower parts of car are not transferred to the traditionally cleaner upper areas of the car. Try to avoid letting the shampoo dry on the paintwork as this will cause streaks and soap spots, for this reason try to avoid washing in direct sunlight. If you are in direct sunlight, it may be necessary to wash and rinse a panel art a time. Continue until the car is completed.
Rinsing
Once washed, the next step is to rinse away the soap bubbles and film. If using a hose I first of all use a light spray of water to wet the paintwork (using the rose on the watering can), just like the pre-rinsing step. Then follow this up with a flow of water from the hose (rose off the water can this time). Most shampoos are free rinsing and require this flow of water to make the rinsing water "sheet" off of the paintwork. (This sheeting effect will work best on well sealed and waxed paintwork). On a sealed/waxed car, keep rinsing until the water sheets cleanly off the paintwork and leaves behind only water beads and not flat regions of water. This makes the car essentially self drying! Rinse from the top of the car down.
Drying
Another risk stage as far as scratches are concerned. First off, I find that using a waffleweave drying towel is far safer and more effective than using a chamois leather. A couple of examples of good quality waffle weave drying towels are:
Sonus Der Wunder Drying Towel
Sonus Ultimate Waffleweave
Also Pakshak towels are very very good too! Rather than sweeping the towel across the paintwork to remove the water, I prefer to pat dry the car. The sweeping of the towel has more risk of inflicting scratches as stray grit particles may be picked up and inadvertently swept across the paint inflicting swirl marks. Instead, pat dry the car by laying the towel down over the wet paintwork. Gently pat the towel, then lift off the paintwork. The towel will absorb the water to dry the paint. A thin film of water may be left behind but this will quickly evaporate to leave a sparkling, streak free finish.
And there we have it - safe washing technique to avoid inflicting dreaded swirls into paintwork.
How To Change Rear Lamps
BTW sorry there are no pics but it is easy to follow anyway!
Tools needed:
Spanner.
1) Open your boot and locate the two bolts, get to work with your spanner on them and by the way the top one is a pain to get off
2) Now remove the light gently, I stress the importance of gently as I snapped of a piece of flimsy plastic bracket, it doesn't matter if you do they still fix fine.
3) Remove the wiring from the middle of the light and ease it out of its holders.
4) Slide your new light into the position of the old light and re-attach the wiring (its like the power lead in a monitor)
5) Re-align and press into the holders firmly, then screw tight again.
6 Now test!! and enjoy your new fitted lights!!
P.S you’ll also notice that on the rear of your lamps are four clips if you unclip these the back comes off and you can change your bulbs incase of any not working etc!
Wednesday, September 26, 2007
How to Centre Console Bulbs
I took the pics as I was putting it back together so ignore the fact the bulbs are on halfway through
1) Ok start off by pulling off the fan speed control, its a literal thing too it just pulls off

2)You'll be left looking at a screw, remove this screw like so: :D

3)Remove upper console, I did this by prying the edges with a knife, screwdriver would do just be careful not to stress the plastic. it will just lift off

4)Remove the aerial (the gold plug)

5)Slide the upper part of the console up and pull the lower bit out

6)Look to the bottom of this pic and the white clip there is four of these ease them out carefully

7)Lift out of the casing and ease the front face from the holder, again I used a knife, you can use what works best for you. and you will end up with something that looks like this


Except yours will be peachy coloured, ignition off pull out the peach bulbs they will click out and install your new bulbs, turn the ignition on to test and his should happen

Then repiece the jigsaw any queries comment me and I'll help the best I can
Steve
1) Ok start off by pulling off the fan speed control, its a literal thing too it just pulls off

2)You'll be left looking at a screw, remove this screw like so: :D

3)Remove upper console, I did this by prying the edges with a knife, screwdriver would do just be careful not to stress the plastic. it will just lift off

4)Remove the aerial (the gold plug)

5)Slide the upper part of the console up and pull the lower bit out

6)Look to the bottom of this pic and the white clip there is four of these ease them out carefully

7)Lift out of the casing and ease the front face from the holder, again I used a knife, you can use what works best for you. and you will end up with something that looks like this


Except yours will be peachy coloured, ignition off pull out the peach bulbs they will click out and install your new bulbs, turn the ignition on to test and his should happen

Then repiece the jigsaw any queries comment me and I'll help the best I can
Steve
107 Owners Club Awards
Won two awards at the 107 owners club annual awards
Best 107 in terms of whats been done to it
Best moderator/admin member
What can I say ;p
Thanks to all that voted
Best 107 in terms of whats been done to it
Best moderator/admin member
What can I say ;p
Thanks to all that voted
New wrench needed?
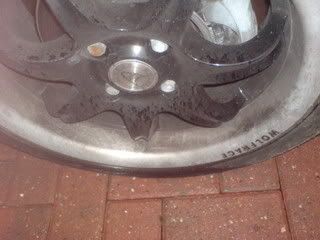
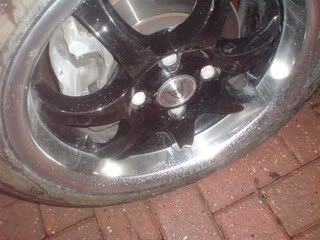
Looks like the idiots at Peugeot put my wheel nuts on too tight! But hey I bent solid steel, thats put my return to the gym off another month!!
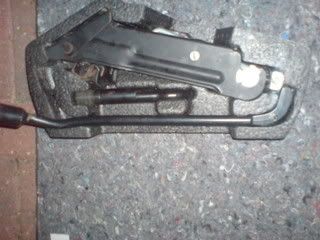
Swiftly ordered a new wrench.
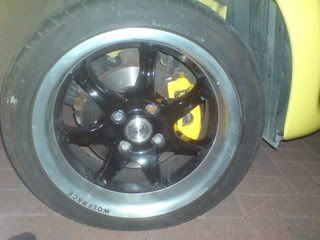
Couldn't help myself then ordered some Peugeot centre caps and some new locking wheel nuts to replace the rusty ones from my last set! Pics soon ;)

Swiftly ordered a new wrench.
Couldn't help myself then ordered some Peugeot centre caps and some new locking wheel nuts to replace the rusty ones from my last set! Pics soon ;)
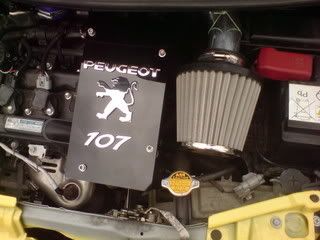
Induction Kit, Engine Cover and badge up
Subscribe to:
Comments (Atom)
